Don’t wait until the shaking starts to practice your earthquake drill at work. This guide will break down how to create an earthquake disaster response plan so you can train your team to take cover.

Emergency Management Mar 23, 2026
Earthquake Drill Procedures in the Workplace
Earthquake Communication Templates
Use these multichannel templates to communicate with employees before, during, and after an earthquake.
Earthquakes are one of the most difficult-to-predict natural disasters. We have plenty of technology to measure them but very little in the way of predicting their severity. With about 20,000 minor earthquakes happening every year around the globe, preparing for a big one is like trying to find a very dangerous needle in an enormous haystack. Unlike a hurricane or tornado, you can’t just close your office and wait out the storm. By the time you know there’s a danger, it’s already arrived. You and your team need to know what to do when that happens. An earthquake drill can help your business remain steady even as the earth itself isn’t.
Download Our Earthquake Communication Templates
Use these multichannel templates to communicate with employees before, during, and after an earthquake.
Completing an Earthquake Risk Assessment
Some areas are more prone to earthquakes than others. California alone suffers over 100 per day, though most are minor and barely noticeable. The likelihood of an earthquake in your region depends on its proximity to a major fault or discontinuity in the earth’s crust. California suffers as many earthquakes as it does due to its proximity to the San Andreas Fault, which extends for about 750 miles through the state.
While California may be considered “earthquake country,” it isn’t the biggest earthquake state; Alaska holds that title. In fact, it’s one of the most seismically active regions in the world. California winds up in the news more often because the danger of an earthquake doesn’t lie in the earth’s movement alone. It’s in the infrastructure. A major earthquake hitting a remote region in Alaska is far less likely to cause devastation than one occurring during a busy West Coast traffic jam.
Human activities such as mining, fracking, and drilling, are causing earthquakes to occur even in areas farther away from fault lines. As a result, central and eastern states, which traditionally experienced low seismic activity, now face these events more frequently and with little preparation.
The same is true for the infrastructure of your business. A worker in a well-designed office free of clutter is less likely to be injured than one working in a disorganized and poorly maintained workspace. Just as seismic events will expose the vulnerabilities of a city’s structures, an earthquake emergency at your business will reveal the weaknesses in your infrastructure.
That’s why you must complete a risk assessment based on the most likely events during an earthquake. Here are some simple tips for evaluating the baseline earthquake risk of your building.
- Check the structure: Examine your building for weak points and vulnerabilities in the walls, roof, and entryways. That long crack running from the foundation to the ceiling on an interior wall could turn into a structural failure during an earthquake.
- Secure objects: Heavy furniture, file cabinets, and bookcases can pose falling hazards or obstacles that could injure employees or prevent them from making it to safety.
- Walk the building: Confirm clear paths to exits and assembly areas. Ensure these are documented and in plain view so people don’t have to search for them during an emergency.
- Review furniture placement: Consider your employee’s everyday workstations and what might happen if an earthquake were suddenly to strike. While everyone enjoys a window view, desks too close to glass could pose a deadly hazard, so keep workstations clear of windows and doorways.
- Keep communication lines open: Review how you will keep two-way communication between employees, first responders, and disaster team leaders as the earthquake happens and in the aftermath.
- Evaluate utility systems: Inspect gas, water, and electrical lines for vulnerabilities. Also, check that paths to shut off valves are clear and make sure those valves are prominently marked.
It may be best to have a professional risk assessment to prepare your building for a potential earthquake. However, it will be up to you to train your employees. You will need to create an earthquake emergency plan.
Get Ready-to-Use Earthquake Communication Templates
Creating an Earthquake Disaster Response Plan
You can’t respond to hazards you don’t know about. The first step to creating an earthquake disaster response plan was covered briefly above; complete a risk assessment specific to your business and its location. The next phase of the plan should involve documenting the procedures, roles, and resources of your organization.
Contact Info and Communication Know how, where, and when to contact employees. | Roles and Responsibilities Assign responsible parties to act in leadership roles during the disaster. | Resource Inventory Have the right emergency supplies and resources on hand. | Response Plan Steps Clearly document the steps to your plan. |
Contact info and communication
You must know where, when, and how to contact employees and other key parties during an earthquake. Keep in mind that you’ll have little time when it strikes, so you should have a plan that is not entirely dependent on the communications infrastructure of your business.
Clearly outline the process for notifying employees during a disaster. Identify who is responsible for initiating notifications and how they will disseminate information. This should also include procedures for contacting remote or offsite workers.
Update your contact information to include primary and secondary details on at least an annual basis. That will ensure you always have the right information when initiating an emergency communications plan.
Roles and responsibilities
Every emergency response plan has five key roles you must fill. These individuals will be in charge of earthquake damage mitigation as they carry out various components of your strategy.
- Incident Commander: The incident commander oversees the entire operation and makes crucial decisions during an earthquake.
- Communications Commander: This role uses the mass alert system to notify employees about the earthquake, contact emergency services, and collect essential reports.
- Scene Supervisor: The scene supervisor keeps individuals away from the unsafe zones created by an earthquake, like areas affected by instability or damage.
- Utility & Safety Systems Manager: These team members should be intimately familiar with the building’s utility and safety features so they can inspect them following the earthquake.
- Route Guide: Route guides manage evacuations and support those with mobility challenges who can’t escape affected areas alone.
Resource inventory
Businesses should inspect and document their emergency resources at least once a quarter. This includes checking fire extinguishers, emergency communication systems, alarms, generators, and other tools to ensure business continuity.
Of course, that isn’t the only concern during an earthquake. It’s not even your top priority. Most importantly, you’ll need supplies to keep the people in your office safe and healthy when they may be cut off from necessities.
Take the advice of Dr. Lucy Jones, a seismologist and earthquake expert who advises that when it comes to critical supplies, “First is water. Second is water. Third is water, and the rest of it all comes somewhere after that.”
As Dr. Jones points out, a person can go without food for a surprisingly long time but will die after only a few days without water. During an earthquake, it’s not uncommon for the pipes in your building to be affected and disrupt the water system. Having a well-stocked water supply in an area accessible during an emergency is crucial to protect your team.
Response plan steps
Finally, you want to clearly outline your response plan steps. Documenting each phase of your earthquake response plan serves as a detailed guide to follow during the chaotic moments of an actual earthquake. From initiating notifications and communication to delineating evacuation routes and assembly points, these documented steps provide a clear earthquake preparedness roadmap for your team to navigate through the crisis.
Of course, there’s no way to know how well they’ll perform during an actual earthquake. That’s why the next step of any earthquake response plan is running regular drills. These drills serve as a mechanism to identify and address any deficiencies or gaps within your plan, ensuring its effectiveness when put into action during an emotionally charged event.
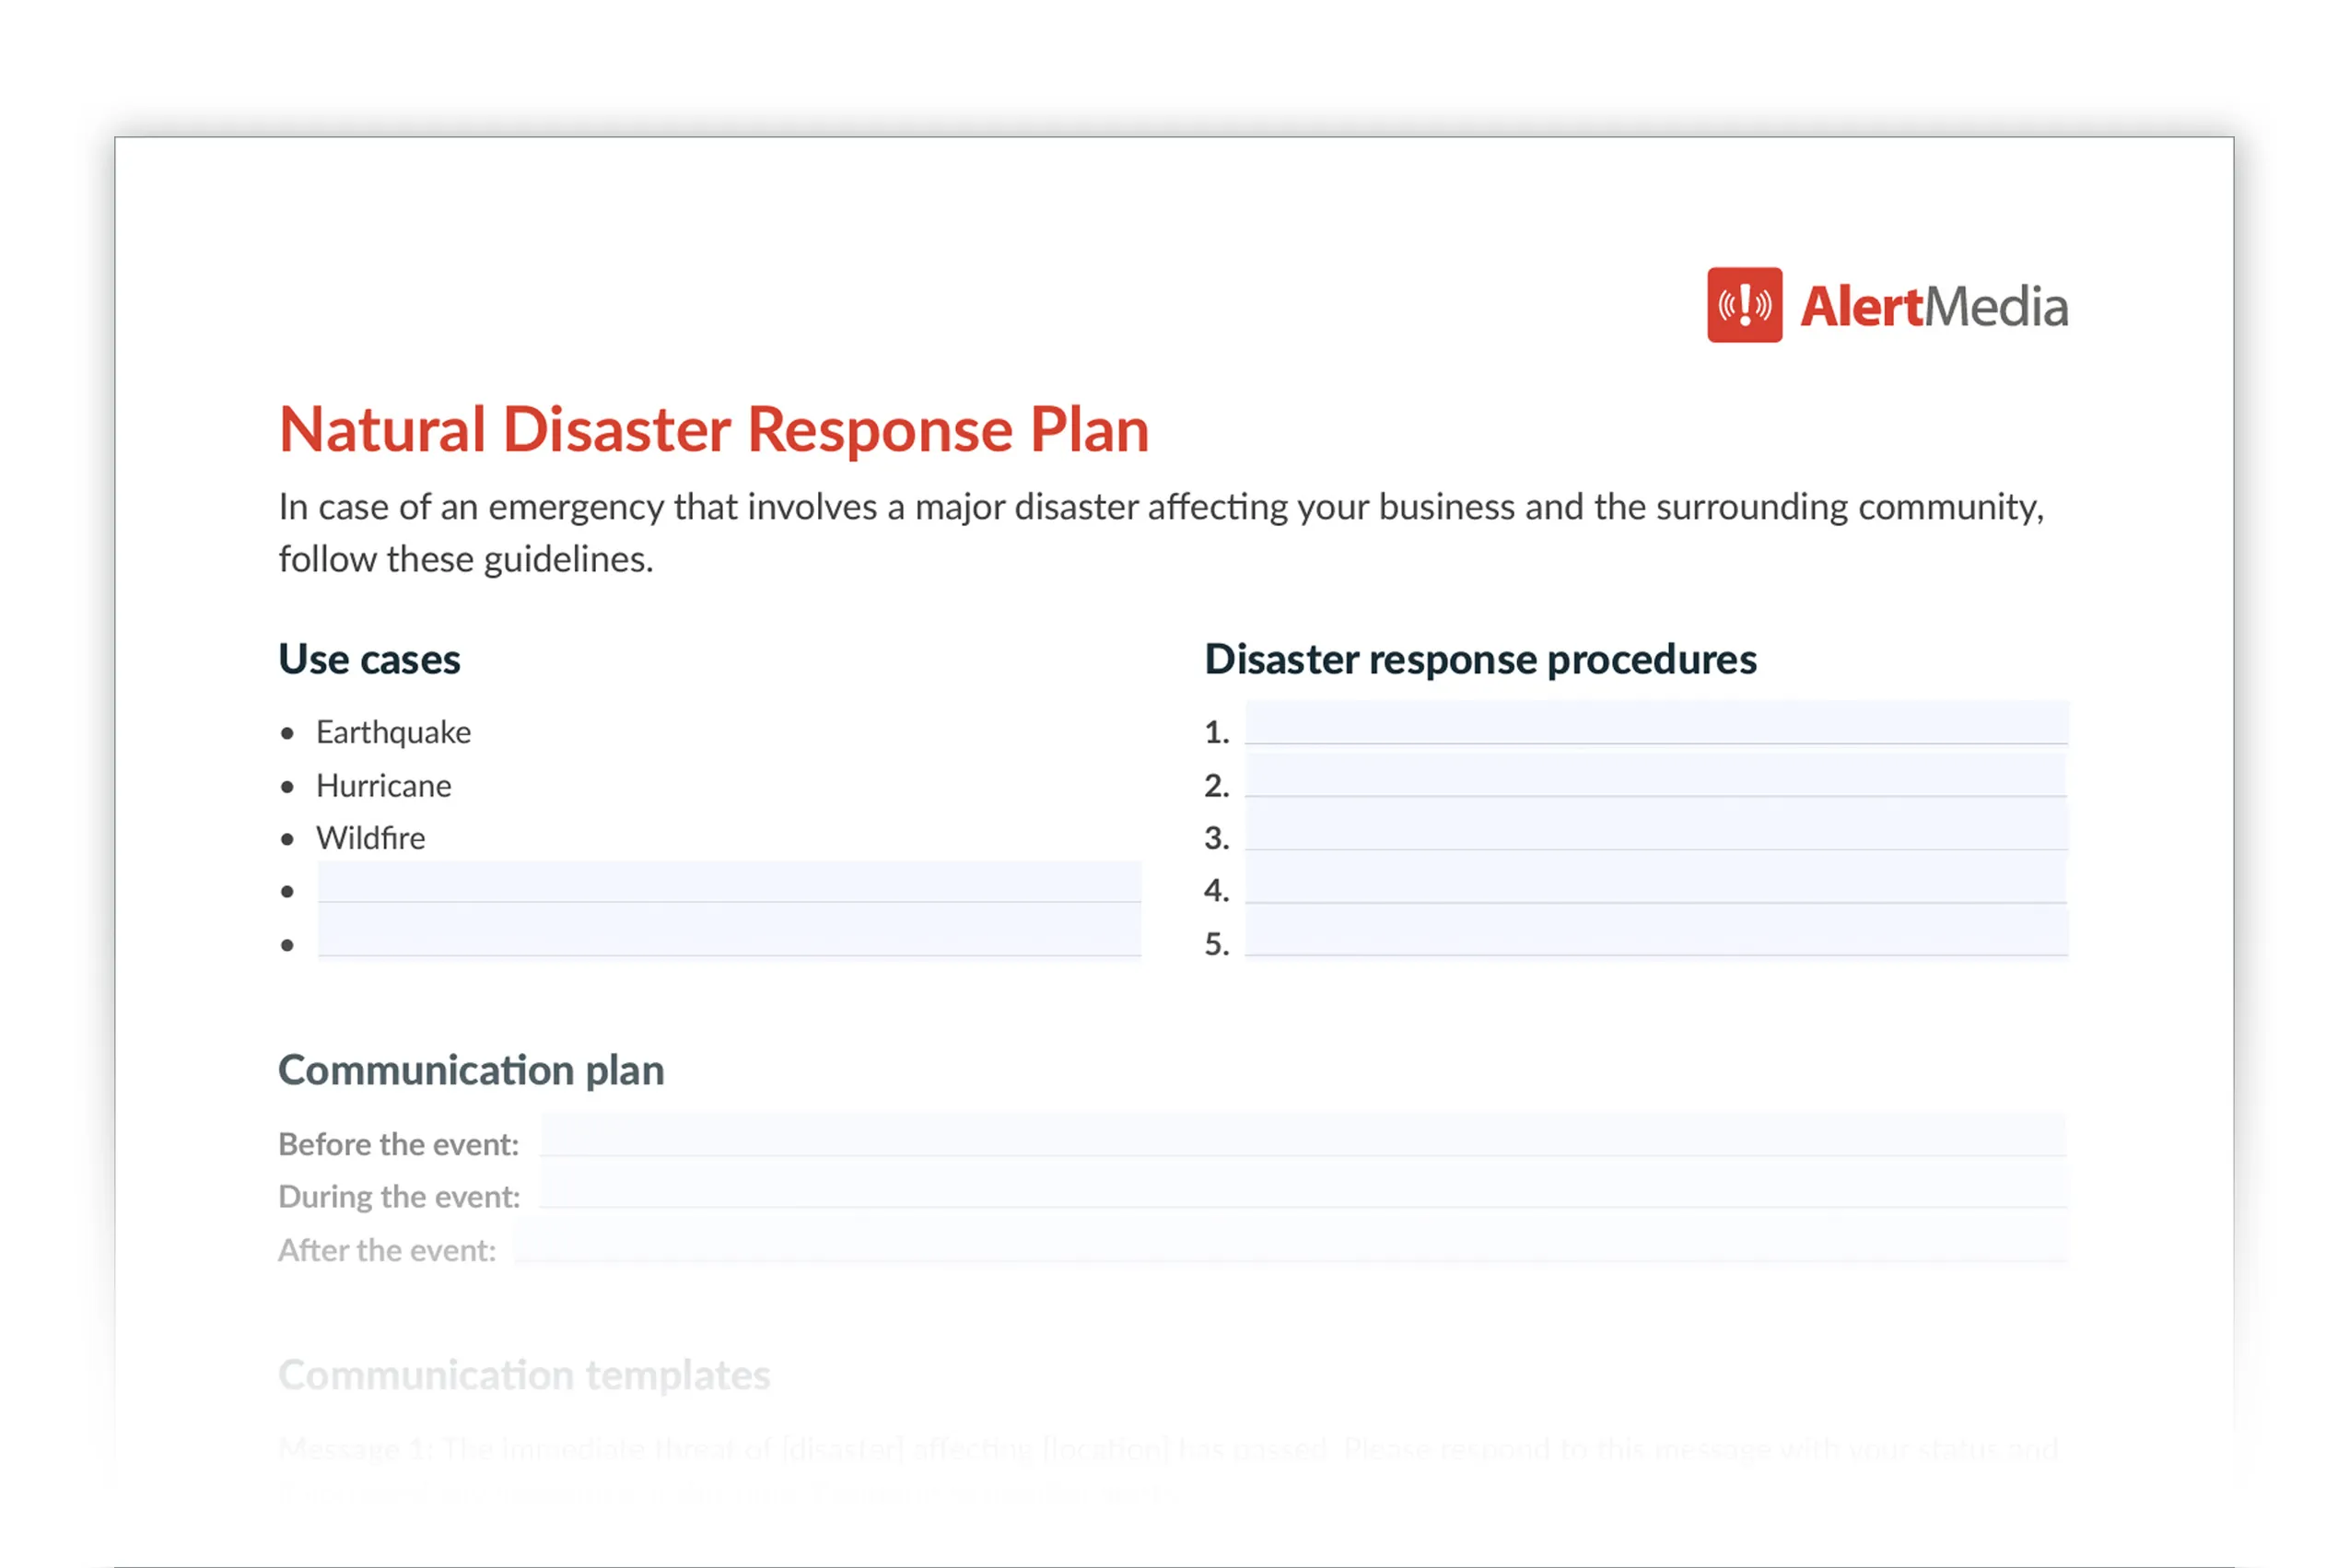
Preview of the Emergency Response Plan Template
5 Steps for Running an Earthquake Drill
An earthquake drill procedure follows the same steps as any other emergency drill, with one caveat. There are two phases. The first phase involves the response plan during the earthquake itself. The second covers the aftermath. You’ll have a separate set of procedures for each.
Phase 1: During the earthquake
| Phase 2: The aftermath
|
You can test both phases during the drill or break them down into smaller components. You may even consider an earthquake tabletop exercise to test your plan in a low-stakes environment before moving on to the official drill.
Once you know what you’re testing, it’s time to move on to the five steps of your emergency drill.
#1: Get everyone on board
An earthquake drill should not be a surprise event. You will need leadership buy-in to test that plan out and organizational support to implement it. Leadership, executives, safety leaders such as “fire wardens,” and all employees should actively engage in safety drills. They should be aware of the importance of the drill and why their participation matters.
#2: Communicate the plan
Everyone should know their role in the plan, where to go, and what to do. It’s not enough to send out a single email or notice. Share information about the plan through company communication channels, SMS, emails, and alert notification systems to make sure everyone is on board.
Ensure that the key parties mentioned earlier—Incident Commander, Communications Commander, Scene Supervisor, Utility & Safety Systems Manager, and Route Guides—are thoroughly aware of their expected roles and responsibilities as the drill is executed.
#3: Set goals
You will need to set some objectives so you can measure the effectiveness of your emergency management plan. Those objectives should be clearly defined and measurable. Here are a few good goals to consider setting for your earthquake drill:
- Evacuation time: This step evaluates the duration it takes to ensure the safety of individuals, considering that, during earthquakes, remaining in a secure location can sometimes be the wiser decision. The objective here might involve aiming for a defined evacuation timeframe, such as successfully relocating 90% of employees within a designated period. However, it’s important to balance this goal with the safety considerations of the chosen evacuation route.
- Communication response: This tests the time it takes for employees to receive and respond to messages. Aim to have emergency messages sent to all employees within a certain time window and set a goal for the response rate. For example, you may say “We will send all employees an emergency message within one minute, and 90% of employees will respond within 5 minutes of receipt.”
- Utility & safety inspection: Evaluate the time the utility & safety systems manager takes to inspect and report on the status of utility and safety systems post-earthquake. The goal might be to complete these inspections within a set time.
- Emergency contact verification: This can also be a valuable opportunity to ensure your employee contact database is accurate. Aim for a robust target, such as achieving 90% accuracy, when verifying the information in your database.
- Route guide assistance time: Measure the time it takes for route guides to assist individuals with mobility challenges in reaching safe areas. This can help you deal with accessibility issues and establish alternative routes.
The goals you set will depend on your business and its employees, though the overarching objectives outlined above should be considered in virtually every emergency preparedness drill.
#4: Run the drill
With goals in place, you’re ready to run your earthquake drill. The scenarios are usually pretty simple to plan because you’re not dealing with multiple complex weather events like hurricanes or blizzards. You can choose a relatively simple scenario to kick off your earthquake drill.
During a typical workday, an unforeseen and powerful quake strikes the region, causing structural damage to your office building and connected power lines. Landslides have also been reported in some areas.
Based on that scenario, the building alarm going off could signal the start of the exercise. This should trigger a series of events based on your preparedness plan.
- Alert: An emergency alert is issued across communication channels, notifying all employees of the simulated earthquake and building damage.
- Drop, Cover, Hold On: Employees swiftly enact the “Drop, Cover, Hold On” protocol during initial tremors.
- Evacuation simulation: Once Phase 1 (the active earthquake) has stopped, employees move to Phase 2 (the recovery stage). They begin evacuating along established routes and gathering at pre-designated safe areas.
- Role coordination: The incident commander leads the response from a designated command center, while the communications commander maintains effective communication. The Scene Supervisor identifies hazards and damage.
- Route guidance: Route guides assist those with mobility limitations to safety during the evacuation.
- Aftershocks: After a simulated earthquake, potential aftershocks are introduced at irregular intervals, prompting employees to continue following safety protocols and maintaining vigilance.
As you carry out those stages, note any gaps or issues you run into. That will prepare you for the after-action review, where you assess your results.
#5: Assess your results
Following your earthquake drill, you should complete an after-action review or hot wash to assess its results. During this, you will analyze the execution of the drill in detail, reviewing factors like communication, coordination, and adherence to roles and protocols. You’ll identify your successes first, looking at what you did right and how you can leverage those strengths in the future. You’ll also weigh your opportunities for improvement, like communication breakdowns or confusion over evacuation routes, that you can use to gain valuable lessons for future trials.
Most of this information is captured in an after-action report that will identify all of the key elements listed above and include some next steps to improve. By involving all relevant parties, documenting the lessons learned, and sharing them transparently, you’ll be far more prepared to deal with a real-life disaster. To make this easier, download our after-action report template.
Preparing for the Unpredictable
If you do business in a fault zone, earthquake drills should be a regular part of your operation. You don’t get much of a warning when these dangerous natural disasters come your way, and they’re far more prevalent than you think. You can keep your business steady even as the earth shakes by running regular earthquake drill procedures based on a detailed emergency response plan.
If you want to iron out your plan before conducting an earthquake drill, consider using our tabletop exercise template to map your strategy.
Download Our Earthquake Communication Templates
Use these multichannel templates to communicate with employees before, during, and after an earthquake.
AlertMedia, Risk Intelligence and Response